Drafting, Part 2: Making an 8-Pointed or Lemoyne Star in Any Size
- Admin
- Mar 1, 2013
- 2 min read
Using quilt blocks in a variety of sizes in one quilt can add so much interest to the overall design! One of my favorite pieced-block patterns is the LeMoyne Star, also known as 8-Pointed Star. Here is one of my recent patterns called Oh My Stars that features this block in two sizes.

If you joined me in my previous post on drafting, you will note that this pattern falls into a category of it’s own called “8-pointed star.” Although it is not as straightforward to draft as other grid category patterns, with a little time and patience you will see how easy it is to make in any size.
You will need:
Graph paper – I use 8-squares-to-the-inch gridded paper as it corresponds to our cutting tools and makes it easy to add the 1/4″ seam allowance.
Drafting ruler
Pencil and eraser
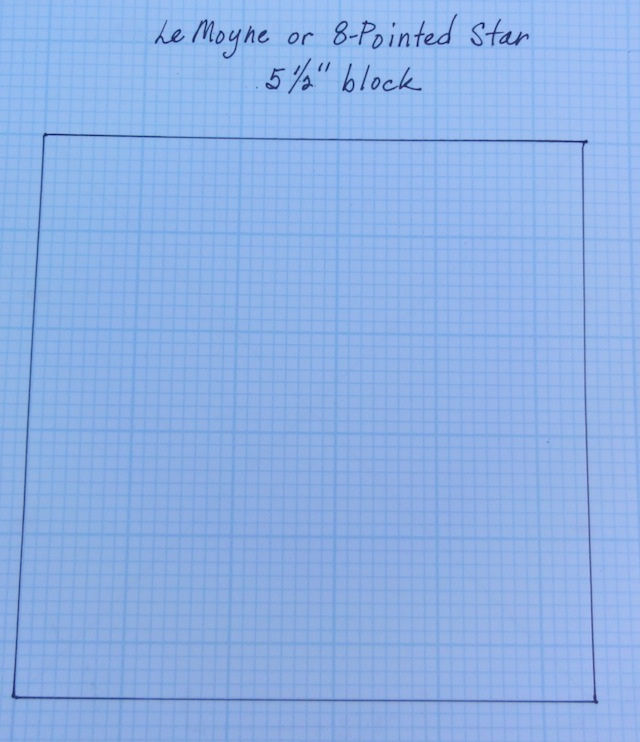
Step One: Mark a square of of any desired finished size onto the graph paper. I am making a 5-1/2″ finished block for this sample.

Step Two: Mark diagonal lines from corner to corner in both directions. Next, find the measurement from the center point to one corner. In this example, the distance is 3-7/8″. Measure from each corner using this measurement to make tick lines along each side of the square, as shown.
Step Three: Connect the marks and draw lines exactly as shown in the next three diagrams. Notice that I’ve erased the diagonal pencil lines in the corner squares in the second diagram.


Step Four: Erase a few more of the original lines as shown to reveal only the lines necessary for this block. You may find it helpful to mark around each of the three shapes and label them with letters. You can now determine the cut sizes of the fabric shapes as described below the diagram.
Shape (A) is easy – just add 1/2″ to the size marked on the graph paper.
Shape (B) is best cut as a quarter-square triangle so that the straight grain of the fabric falls along the outer edge of the block. To determine this measurement, simply add 1-1/4″ to the longest (diagonal) side of the triangle. Cut a square of fabric to this measurement, and then cut the square on the diagonal in both directions to make the four needed triangles.
Shape (C) is the measurement across the diamond, from side to side, exactly as shown, plus 1/2″. These are 45-degree diamonds, so you can simply cut strips the needed width and then use the 45-degree angle marking on your ruler to cut diamonds of the same measurement. So now you have all the information you need to make these wonderful star blocks in any size. No longer will you be limited to what is available to you in books and magazines. If you need help with y-seam construction, please click here to view my tutorial on this technique.
As promised to my Craftsy students, I will be sharing the new blocks I am making each month. This month, I presented a drafting lesson for the Economy block. Here are my new samples in two different sizes. Be sure to check back at the beginning of each month throughout the year for additional blocks and techniques.

Economy block can be made in any size using simple drafting techniques.

Here’s the same block, reduced in size. I added outer triangles to make it larger.
I hope you have found this helpful. Happy block drafting everyone!


Comments